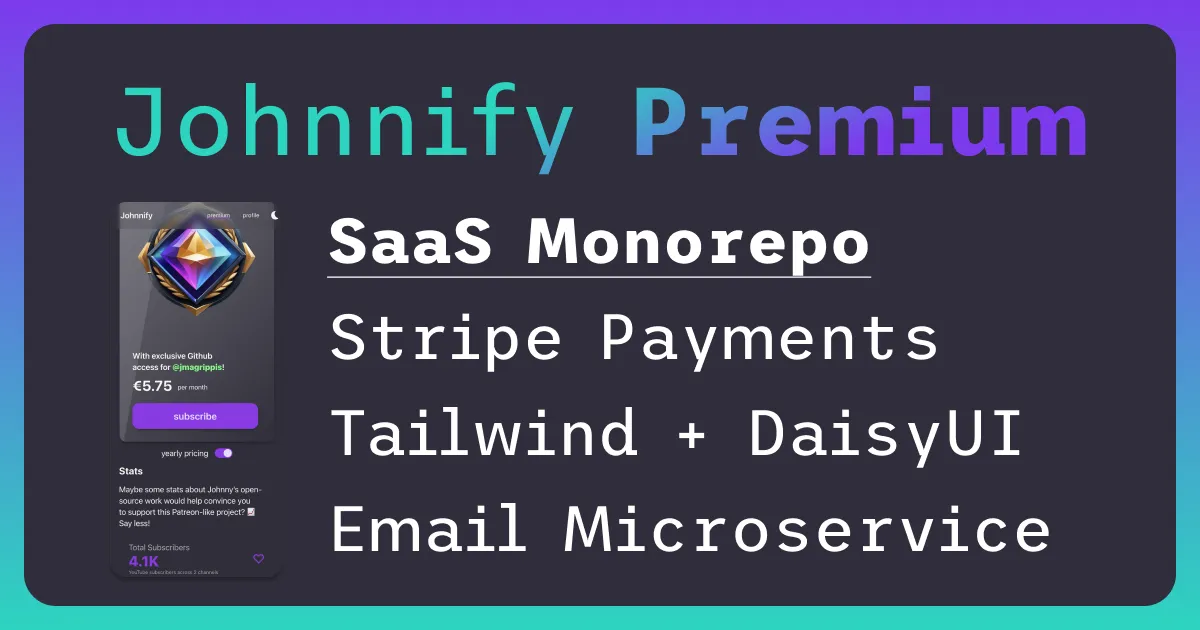
“Johnnify” 🚀 Monorepo with Stripe SaaS & Docs
A monorepo with a SvelteKit frontend including OAuth2 Provider social login, a conversion flow for subscriptions, Stripe webhook handling, as well as searchable docs powered by Astro Starlight!
Livestreams, tutorials and guides
Johnny often livestreams the creation of this repo, over at the Johnnify YouTube channel. Join us and suggest features!
It’s also used in short video guides, such as:
- Text Gradient with vanilla CSS 🍦, or with Tailwind! ⛵️ (for your stylish hero sections)
- “App-like feel” 😍 with the View Transitions API & SvelteKit!
- Stop using Google Fonts in prod 📈 what to do instead! 📉
What’s inside?
This Turborepo includes the following packages/apps:
web: SvelteKit implementation of the web appdocs: Astro Starlight implementation of documentation websitedb: A local SQLite database with Turso@repo/css: A CSS file + Tailwind config potentially shared by all apps@repo/email: Design and transpile email templates, powered by React Email
Notable tech
- TypeScript for static type checking
- Bun as the package+
- Prettier for code formatting
- ESLint for code linting
- More in the individual apps’ READMEs!
Local development
Most actions can and should be run from the root of the repository, thanks to Turborepo and as specified in turbo.json.
Architectural Decision Records
We keep track of particularly important, or arguable, architecture decisions in the docs/adr directory.
Read more about Architectural Decision Records, including how create new ones, or supercede old ones.
Install dependencies
bun iEnvironment variables
Apps will have their own .env / .env.local / .env.test files. Only .env.test is committed to version control, so you should use that as a template to create your own .env & .env.local.
Run all dev servers on watch mode
bun devNavigate to localhost:5137 to see the core web app.
This command includes spinning up a local database!
Run all tests
With the dev servers running, run:
bun testUpdate all dependencies in all apps
To update all dependencies, including all package.jsons to point to their latest versions, run:
bun run updateInteractive UI will let you select which packages you actually want to update! Recommended to do all of them anyway.
Other handy scripts
Refer to the package.json & turbo.json for more scripts, namely linting & formatting.
How to use this repo as your “starter”
Clone this repo into the directory you want your new project to be
For example you may want to run in your terminal:
git clone git@github.com:johnnify/monorepo.git your-monorepo-saas-appRemove existing Version Control & initialize your own
You probably don’t want a history of everything that’s happened to this repo, and you definitely do not want to push your own changes to it! You are your own person and want to do your own thing 🙌
Easiest way to start fresh is to cd into the root directory of your new project, such as cd your-monorepo-saas-app, and run:
rm -rf .gitThen, initialize your own git repo:
git initYou may want an initial commit now, or keep your history a bit cleaner and save it after you’ve done the preliminary changes in the next step. You can have infinite commits, so it doesn’t matter that much 😄
Update environment variables
You can use the committed .env.test to make your own .env & .env.local files.
Env Var pro-tip
I like having a .env filled with variables corresponding to production (for example to production Supabase), and a .env.local with variables corresponding to local instances (for example the local sqlite the apps/db runs).
.env.local takes priority, so that would get used by default, and if I want to connect to production I rename it to something like .env.local.bak. Names are magic in this case, so that file will not be loaded, and I will be connected according to the variables in .env.
If I want to connect to the local instances again, I rename .env.local.bak back to .env.local.
I find this method much easier than copying and pasting environment variables, and with a 0% chance to mix up local and production variables! Still need to be aware which file is actually being loaded though, whether you have renamed .env.local or not.
When I deploy to Vercel, I often have a .env.preview or similar. So .env.local points to local services, .env.preview to Vercel deploy previews / “staging”, and .env to production. This is easier with Turso as our database providers, as they are generous with how many databases you may have, while with Supabase it’s a bit more of a hassle to setup, for example a johnnify and johnnify-dev projects.
Rename Johnnify / project-specific stuff
Search for “johnnify” and replace with names corresponding to your project. This includes things that the user would notice, like meta titles, descriptions and open-graph images, but also internal things such as the package name… which don’t really matter, but it’s nice to keep neat.
This also includes links, you may not want the “Made with 💜” footer at all, but even if you do, you’d want to replace the links to your own projects and portfolios!
Replace favicons & other images with your own
You wouldn’t want the Johnnify logo for your app, so perhaps use a tool like the Real Favicon Generator to replace those assets with your own, on-brand ones.
Style to taste
It’s likely you won’t want exactly the brand colours and typography of Johnnify, so amend packages/css to taste.
This monorepo follows DaisyUI conventions more closely, so you can select different themes from them, customize them fit your brand, change the --font-sans, add a --font-fancy…
Commit & start building your own app!
At this point you’ll want an 🚀 initial commit based on @johnnify/monorepo or similar, and then you can start building your own app!
Start the dev servers with bun dev, and click around localhost:5173!
Feel free to delete routes you won’t need, but I do find that at this point I’m tempted to spend time integrating “the real stuff” for the new project, so I like having that initial commit done first, before I get deeper into the weeds.
Have fun! 😄